Friday 28 March 2014

Bircher Muesli - by Stacey

I love this for brekky or a snack its delicious, quick, cheap, very filling and healthy. Basically its everything!

This batch lasts me 3 ~4 days so I usually only make it once a week. 

Recipe;

1 cup rolled oats 
1/2 cup almond milk - or any other liquid milk, apple juice, soy milk are all good
1 cup greek yogurt
1/2 tsp cinnamon 
1/2 tsp vanilla essence 
1 tsp coconut oil 
1 small green apple skin on grated 
1 cup frozen raspberries - any other fresh or frozen fruit can be used instead
1 tbls shredded coconut 
1 tbls honey - can use maple instead 


You could also add some toasted chopped nuts,  as I mentioned any fruit fresh and frozen berries are all amazing with this recipe, seeds such as chia sesame etc,


Just put this all in a container or jar and stir it put it in the fridge over night and voila its ready to go. Eat it on its own like I do or with toasted muesli on top or add some cereal. 

As you can see this recipe is very adaptable give it a go you'll be hooked.   

Monday 24 March 2014

Crafty Storage Ideas - by Stacey

Wanted to share 2 quick and cheap ideas with you for storage if you are anything like me with your crafty hobbies you can accumulate lots of odds and ends that are hard to find homes for. 

Why not try an over the door shoe holder is perfect to store all your craft things like scissors, glue, paints and glitter etc .....


Secondly you can buy roles of blackboard and whiteboard stuff now I got mine at Masters, its not contact paper so doesn't stick permanently to your surfaces. Since I'm a huge fan of blackboard paint (stay tuned) I thought I'd try the whiteboard role instead its really good I hang it to the back of my pantry doors and jot down lists, recipes and reminders. Just cut off a piece wet down the surface and smooth out all the bubbles. 


Saturday 22 March 2014

Lime Cordial & Sorbet By Stacey

So part of my new year resolution this year is to be less wasteful with food, when we moved in to our new home I was over joyed to find there are some established fruit trees which has always been a bit of a dream of mine. 

With an abundance of limes at the moment I made some super easy lime cordial. 

This recipe is more a lime syrup as it doesn't contain any of the preservers if you add citric acid and tataric acid it will keep longer. But I didn't have any and I planned to use all of mine within a few days so problem solved. 


Juice of 10 or so limes
(also grated rind of 5 of the limes)
a few mint leaves 
2 x cups of water
1 cup of sugar


*Tip when juicing lemons or limes roll them on the counter first to get maximum juice from them.


On a low heat dissolve sugar and slowly heat to a slow simmer for about 5 ~7 minutes, strain into a clean container or bottle and leave to cool. 


You can use this all sorts of ways add a dash to lemonade or cocktails or simply drink it with water. I have a soda stream so I made a soda water and added my fresh crisp lime syrup to that and it was delicious! 


Remember to leave your syrup in the fridge though or it freezes nicely. 

Also if using it to make sorbet I added extra water to dilute the sweetness then churned it in my ice cream churn if you don't have an ice cream churn you can freeze the liquid then give it a zap in a food processor and put it back in the freezer this works for all fruit juice. 


Lime Mint Sorbet


Rainbow crayons...by Amy


Over the christmas period we had to make a few trips to meet Santa as you do when you are the mum of two toddlers.  This year our local Santa was giving out little packets of Crayons as gifts to the kids, so we ended up having 4 packs between both the girls.  Being a crafty house you can imagine that we already had plenty of crayons and pencils so I thought I would try out something I spied a little while ago and melt them down and create something a little more fun to draw with!

All you need to create some colourful shape is some cheap crayons, a silicon mould in whatever shapes you desire, I used our cheap mould from K-mart that is butterflies and bugs.

Grab some cheap crayons, or expensive ones who am I to tell you how much to spend on Crayons

Brake them up into smallish pieces, I enlisted the help or a pre-school to do this!

I choose to use more of the bright colours over the darker colours.

Once you are happy with all the crayon pieces, pop them into you silicon mould.

Make sure you have a good mix of colours in each mould.

Now the fun part, pop the silicon mould onto a baking tray, and into a preheated oven at 180 degrees C for about 8 mins.  I had mine in for 10 and really there didn't need to be in that long. When I checked them at 8 minutes the colours looked better than at 10 minutes. 

Once they have cooled very carefully pop them out of the moulds.

The next day we had a great time playing with them, we will definitely be making more in the future!

Enjoy Amy 

Wednesday 19 March 2014

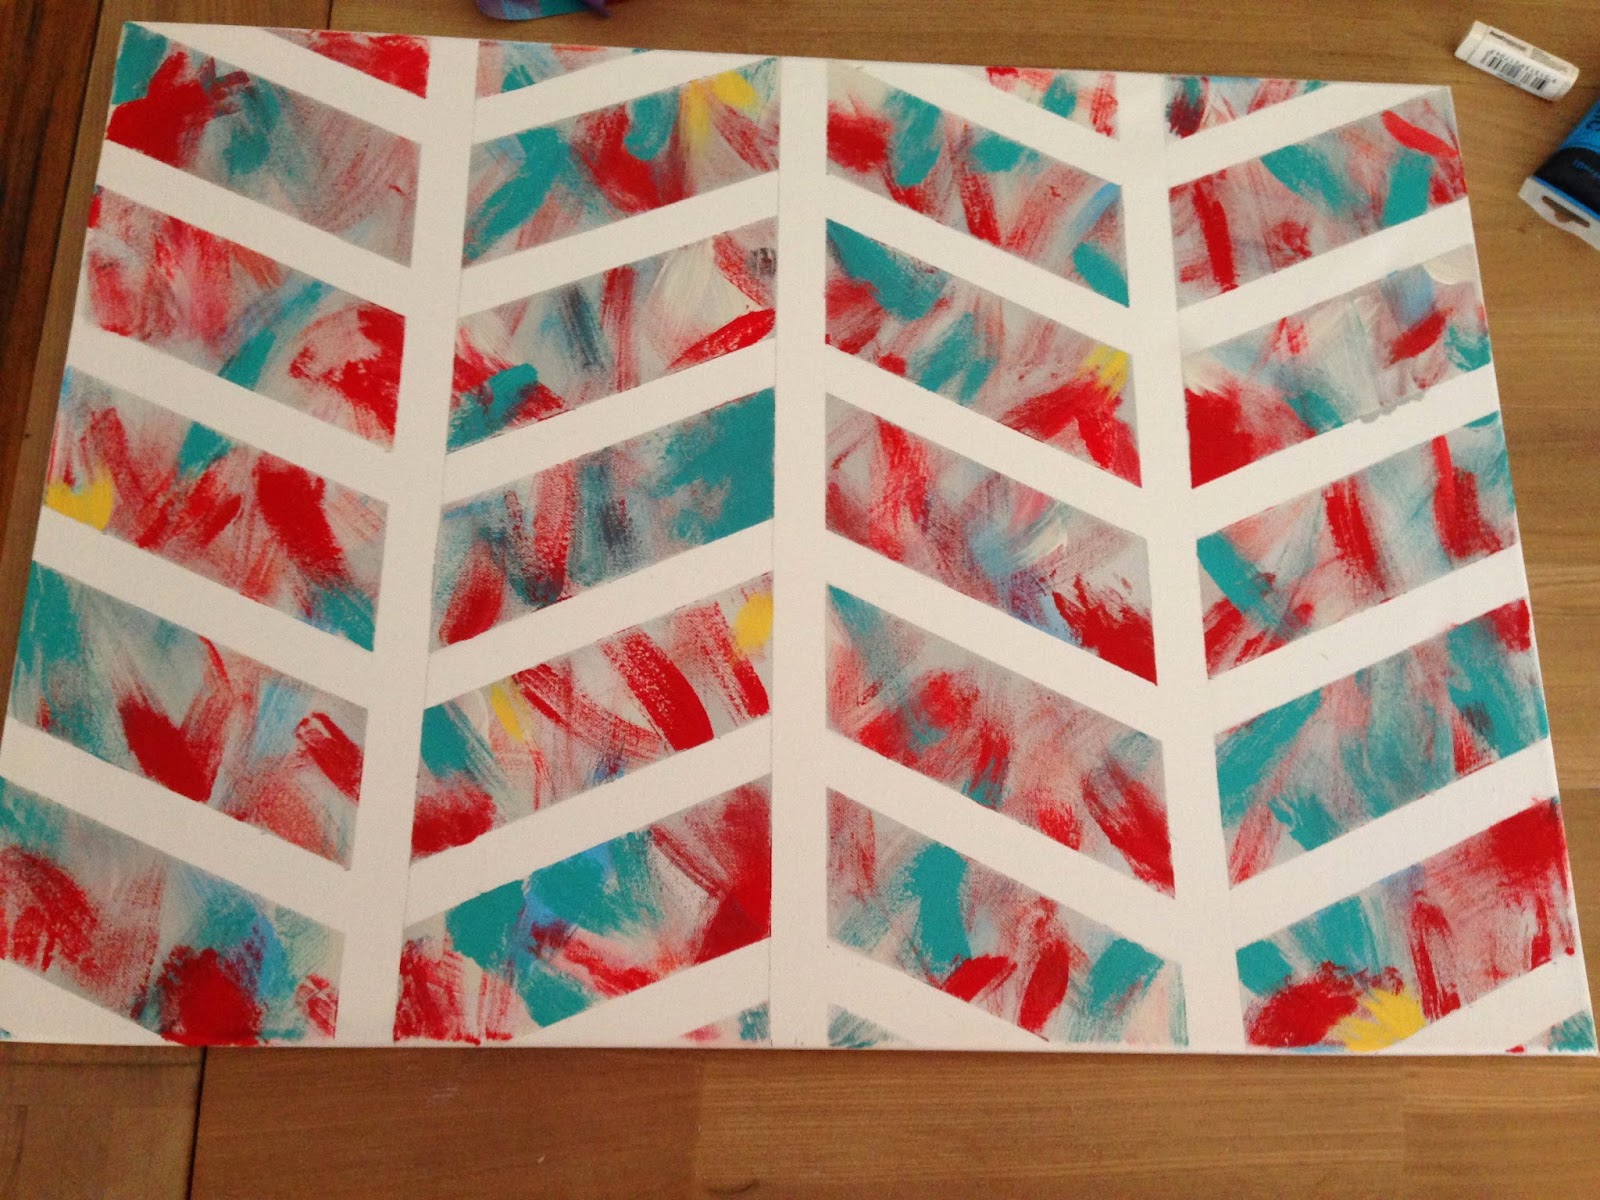
Masking tape wall art…by Amy


We have been our house now for just on 18 months, before we moved in I was quite motivated and bought lots of things for the house like cushions and throws, lift pops of colour to accent our cream and grey colour pallet.  That pop of colour was red, lots of RED, and while I do still love and adore it, I am quite tired of it being the only real colour in our living areas.  So this week I decided to venture out into the world of adding an extra colour, I all ready had a plan how I was going to introduce this extra colour it just took me a little while to decide what I one I should pick.  After looking through literally hundreds of colour boards on Pinterest, one colour pallet kept jumping out, Red, Grey and Turquoise, It looked beautiful all together, but I was still nervous and not sure if I cukld pull it off.

The very next morning I took myself and my motivation to the local Mr Dollar shop, a shop I only just discovered a few weeks ago but is quickly become a favourite for party and craft supplies.  At Mr
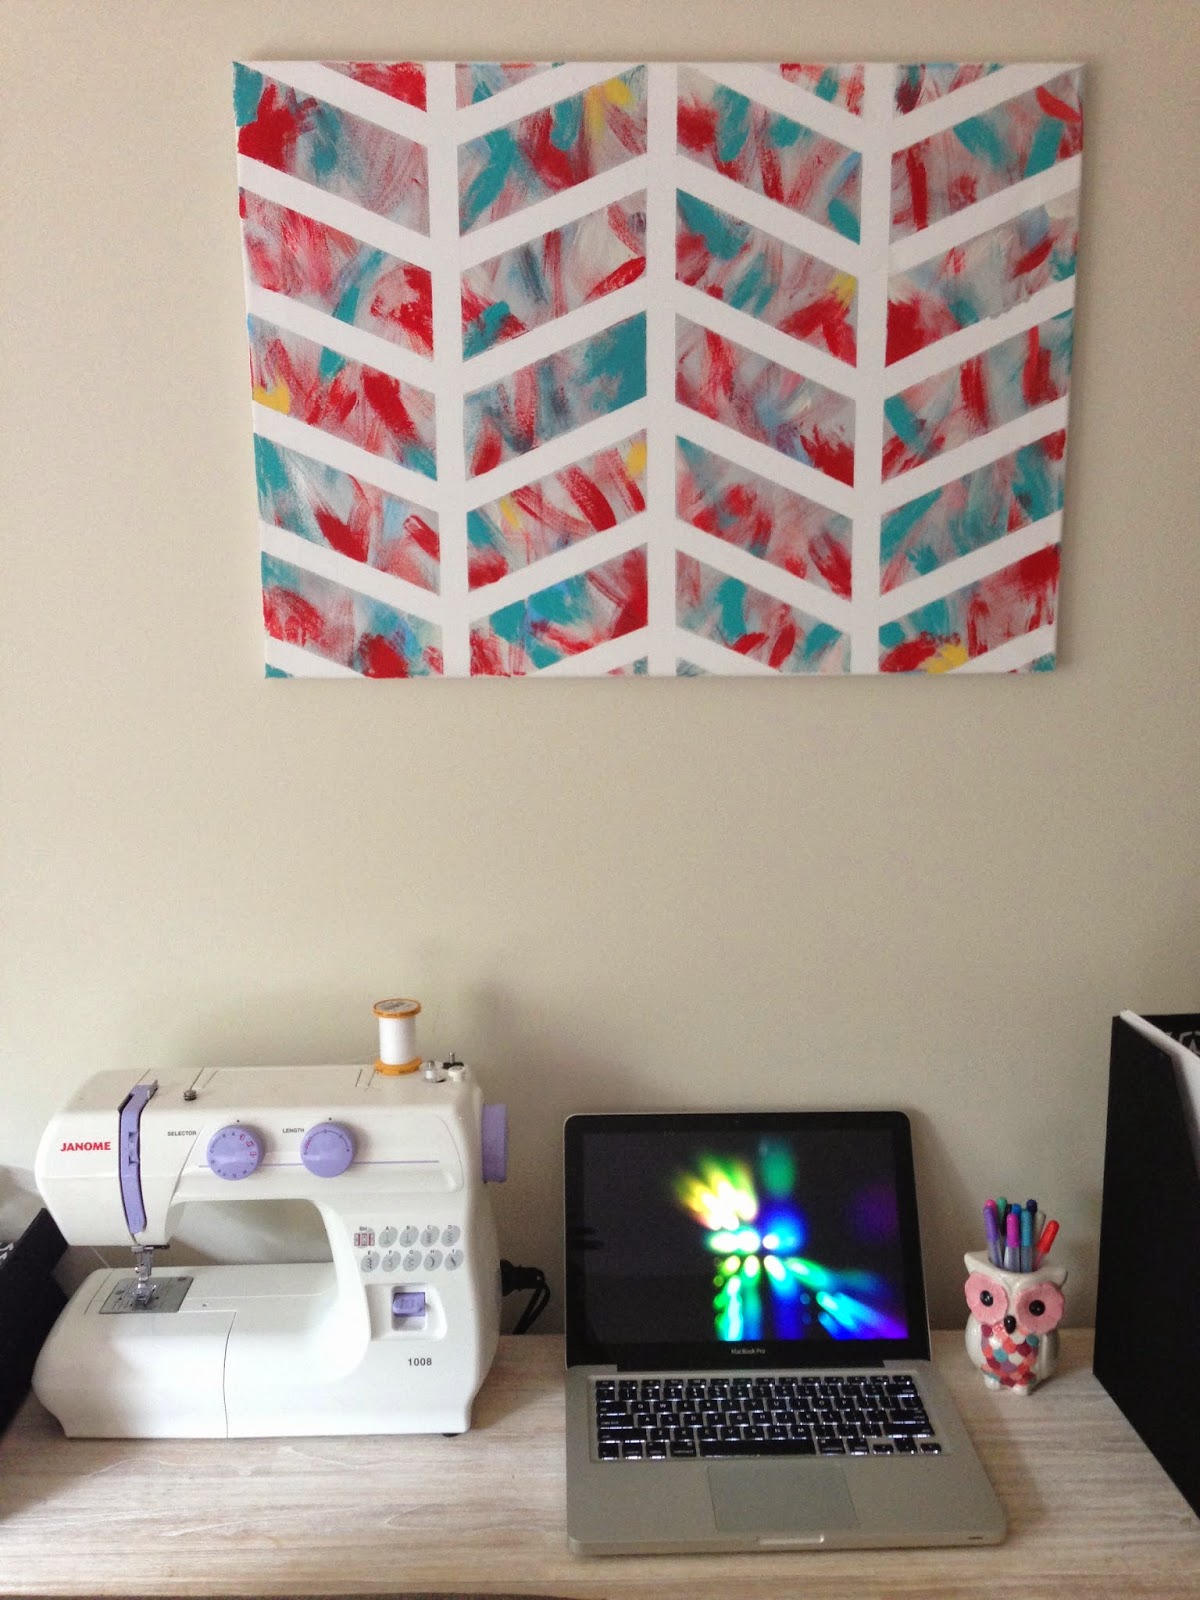
Dollar I bought myself an $11 canvas and a couple of $3 acrylic paints in red, yellow, white and Turquoise.  Then I went home and got started on my first pop of new colour….A masking tape wall art piece. I hope you like, I love it, this is how I did it.

What I used: A cheap Canvas, painters masking tape, a can of silver spray paint,
assorted acrylic paints, to make up my colours (Red, Cream, light blue, Turquoise,  peach and yellow)
measuring tape, ruler and pencil and different sizes of paint brushes.
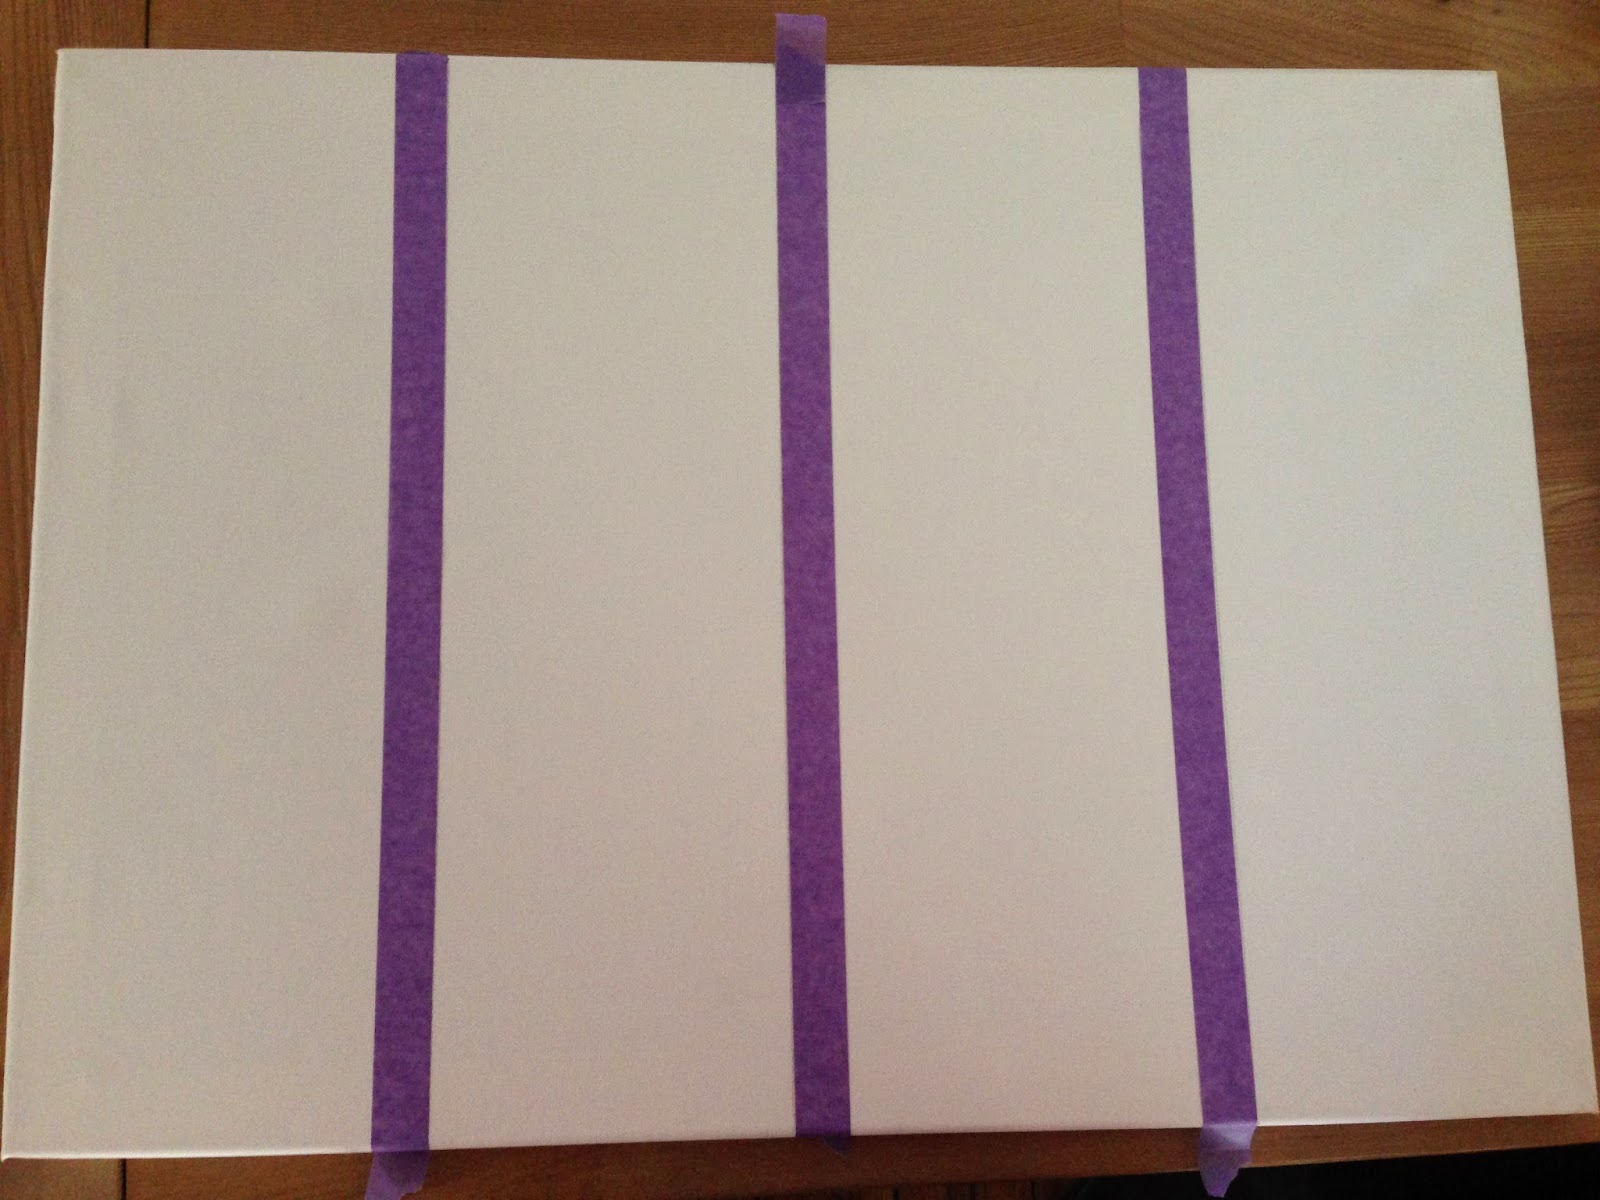
Measuring out the centre. I made sure I marked it out taking in account the width of the masking tape,
this way when the I had drawn the line it was off centre but once the tape was stuck up against the line the tape was bang in the centre.  
I then stuck down two more lines using the same method to get the lines centred.
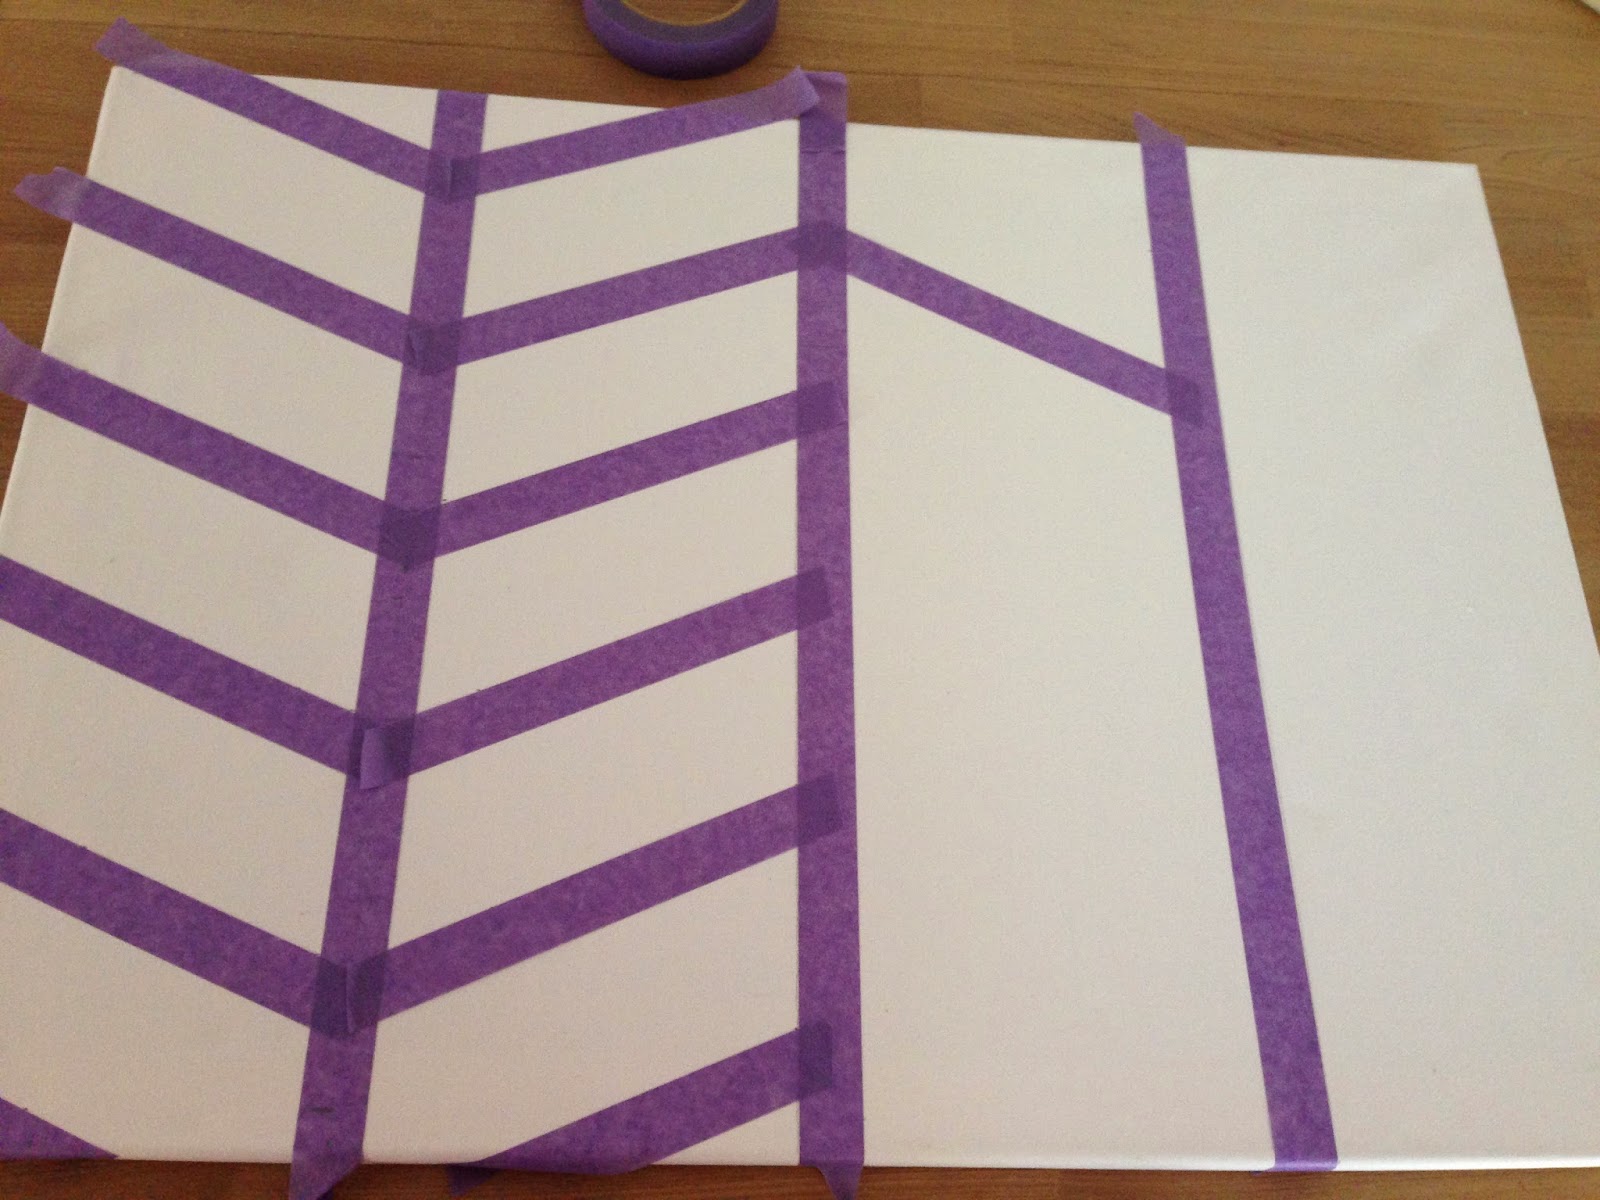
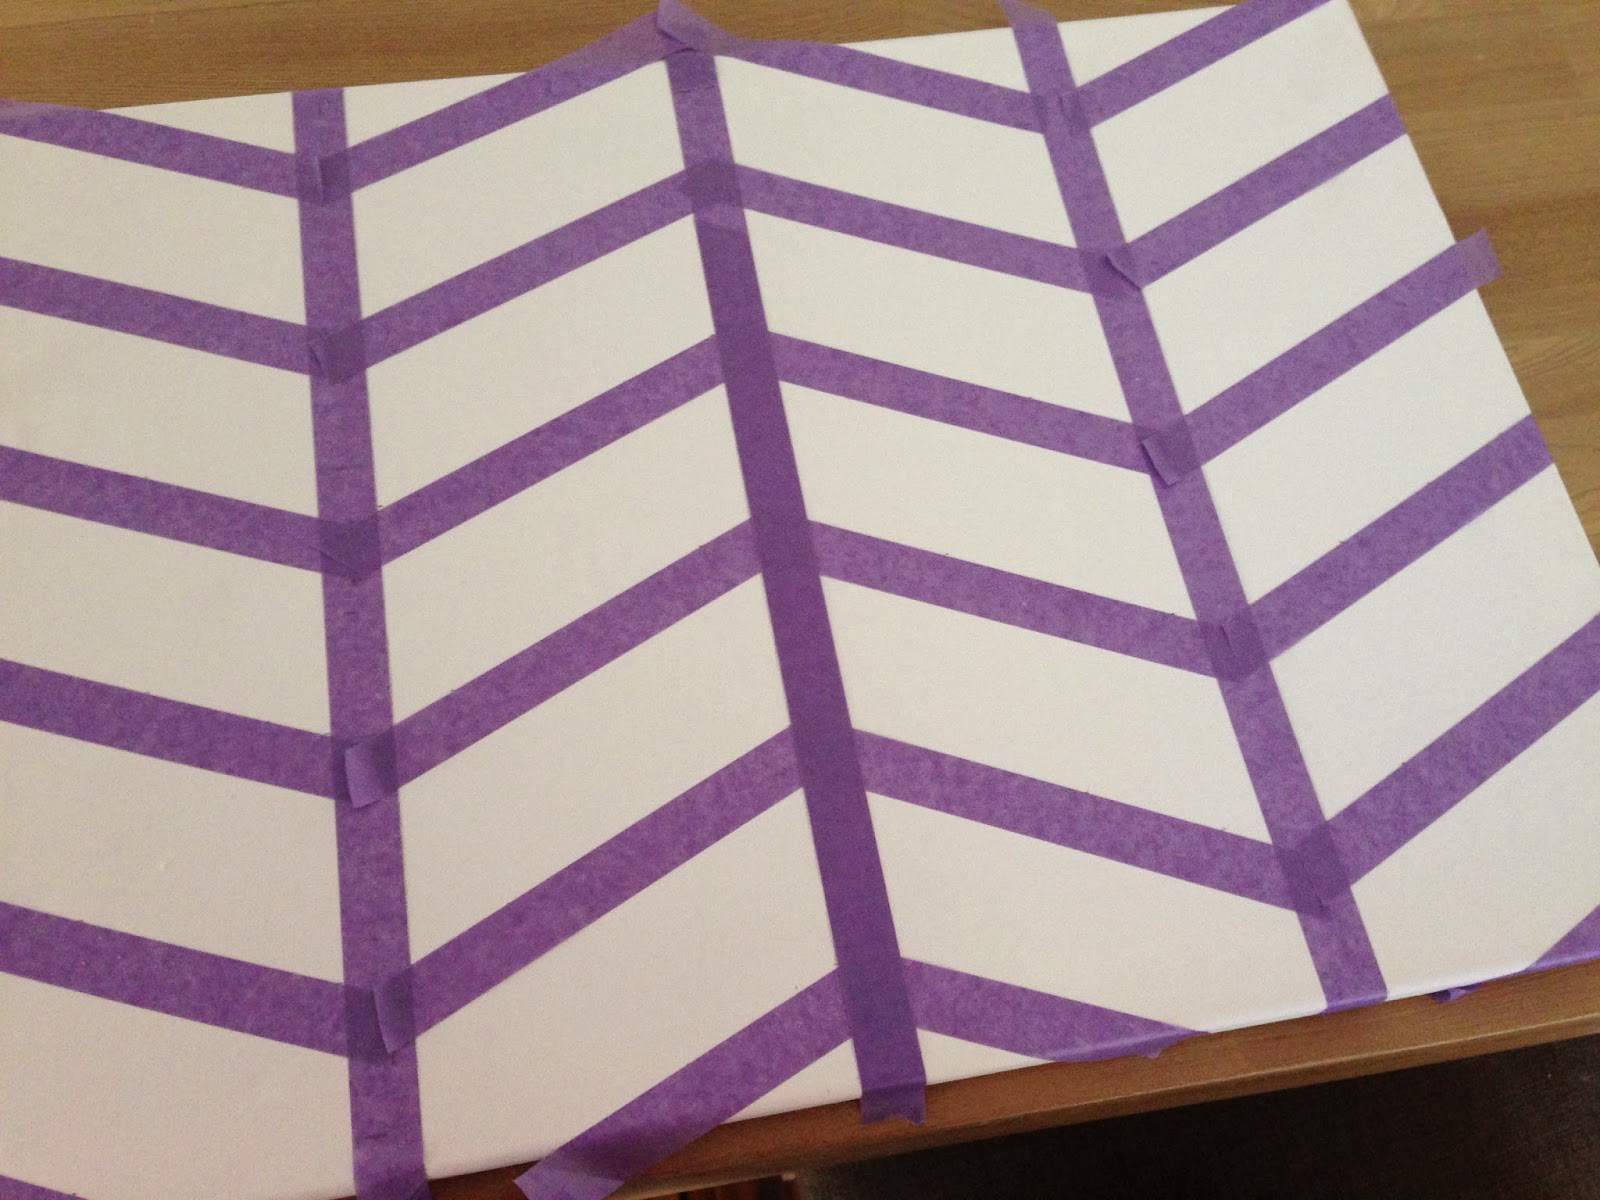
Now for the Chevron tape. I chose to do 7cm gaps the whole way down, it was tricky getting it started but once I got into the groove it wasn't hard, just a little time consuming.  With my ruler I marked 7 centermeter all along the bottom of the tape and then lines up the next piece of tape with these marking. 
All taped up and ready to start painting.
First I took the canvas outside and gave it a rough spray with the silver spray paint. 
While the canvas was drying I made up the colours I wanted to use in a old egg carton.
 I like to keep my egg cartons for a a few reasons, one to steal eggs from my mums chook house and the other is for crafts, they always come in handy! 
I started off adding strokes of light blue and cream as they were just the background colours
Then I layer the next colour on a light peachy orange, after this I took it back out and gave it a light spray with silver again, to I've the background colours a shimmer.
Now the serious stuff, The two main colours the Red and the Turquoise, I just kept layering then until i was happy with how it looked, it was at this point that I decided it need a little pop of yellow for contrast. 
I let it dry for about and hour before I started to carefully pull the tape off.

Wellah!! a very nice piece of art for my study nook, now just to keep adding more colour around the house!


site design by designer blogs