We have been our house now for just on 18 months, before we moved in I was quite motivated and bought lots of things for the house like cushions and throws, lift pops of colour to accent our cream and grey colour pallet. That pop of colour was red, lots of RED, and while I do still love and adore it, I am quite tired of it being the only real colour in our living areas. So this week I decided to venture out into the world of adding an extra colour, I all ready had a plan how I was going to introduce this extra colour it just took me a little while to decide what I one I should pick. After looking through literally hundreds of colour boards on Pinterest, one colour pallet kept jumping out, Red, Grey and Turquoise, It looked beautiful all together, but I was still nervous and not sure if I cukld pull it off.
The very next morning I took myself and my motivation to the local Mr Dollar shop, a shop I only just discovered a few weeks ago but is quickly become a favourite for party and craft supplies. At Mr
Dollar I bought myself an $11 canvas and a couple of $3 acrylic paints in red, yellow, white and Turquoise. Then I went home and got started on my first pop of new colour….A masking tape wall art piece. I hope you like, I love it, this is how I did it.
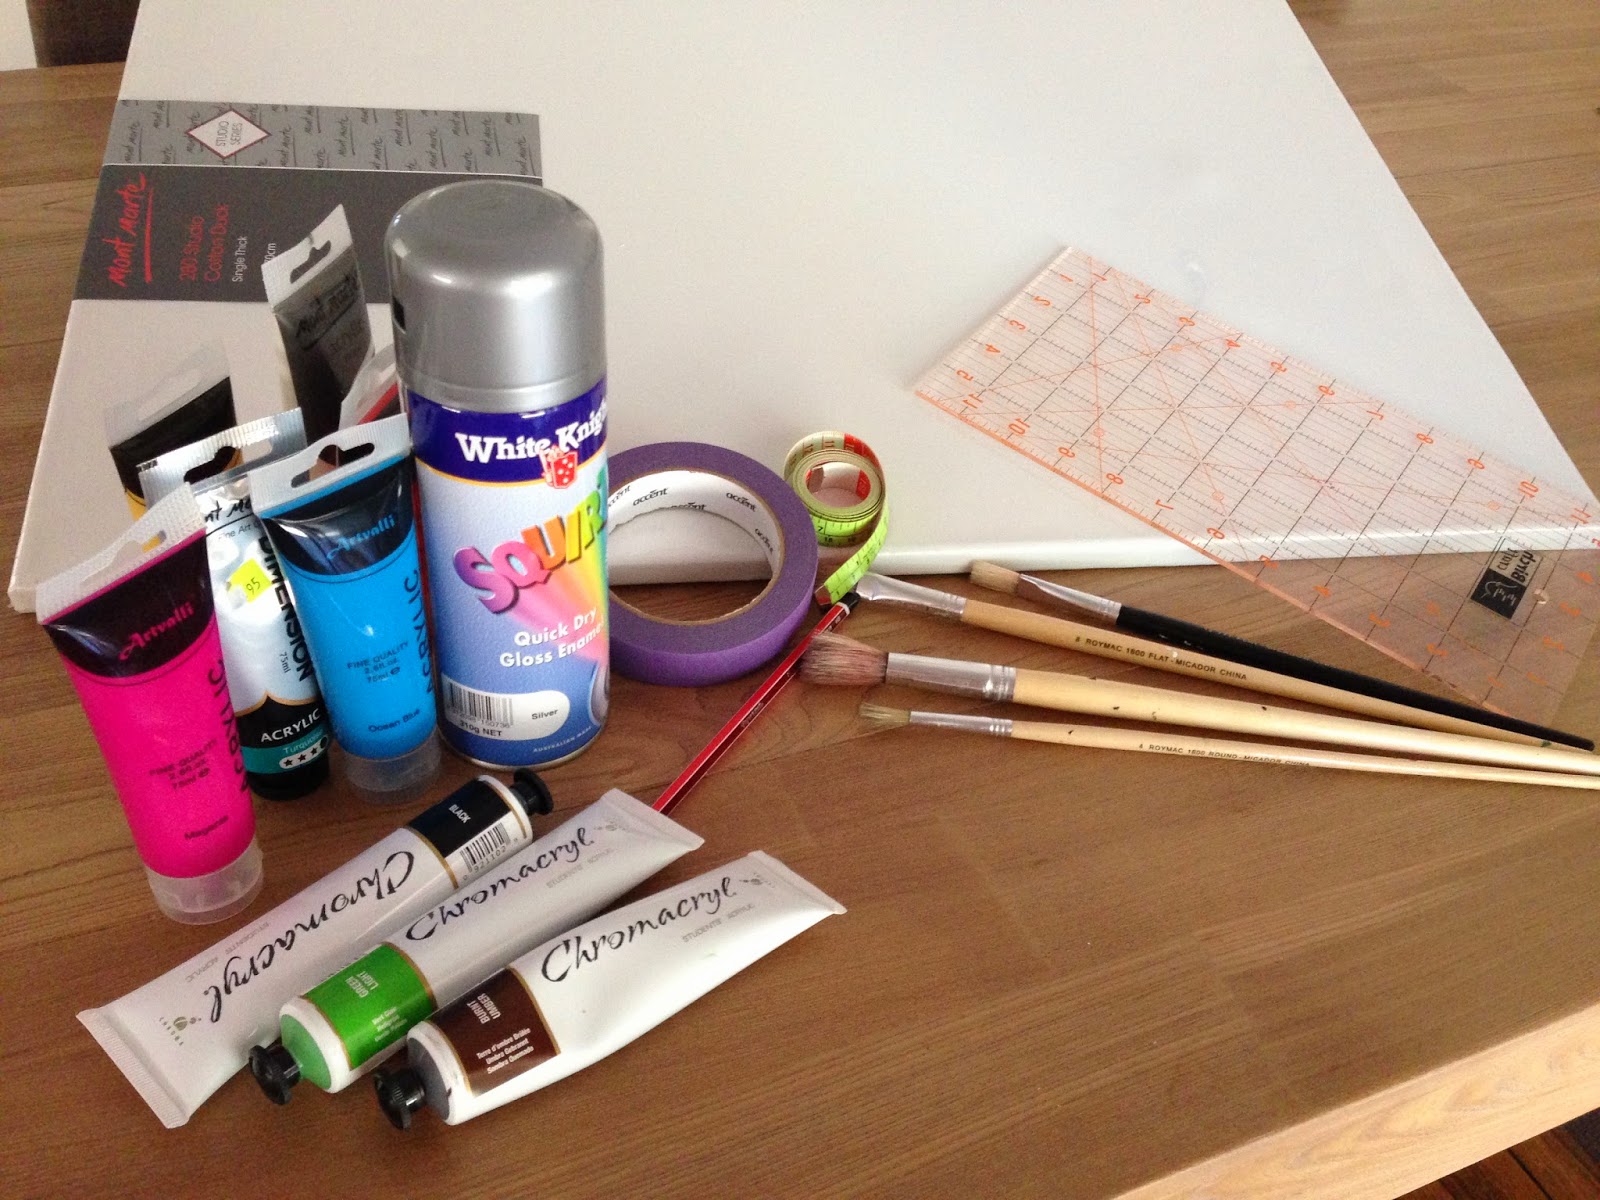 |
What I used: A cheap Canvas, painters masking tape, a can of silver spray paint,
assorted acrylic paints, to make up my colours (Red, Cream, light blue, Turquoise, peach and yellow)
measuring tape, ruler and pencil and different sizes of paint brushes. |
 |
Measuring out the centre. I made sure I marked it out taking in account the width of the masking tape,
this way when the I had drawn the line it was off centre but once the tape was stuck up against the line the tape was bang in the centre. |
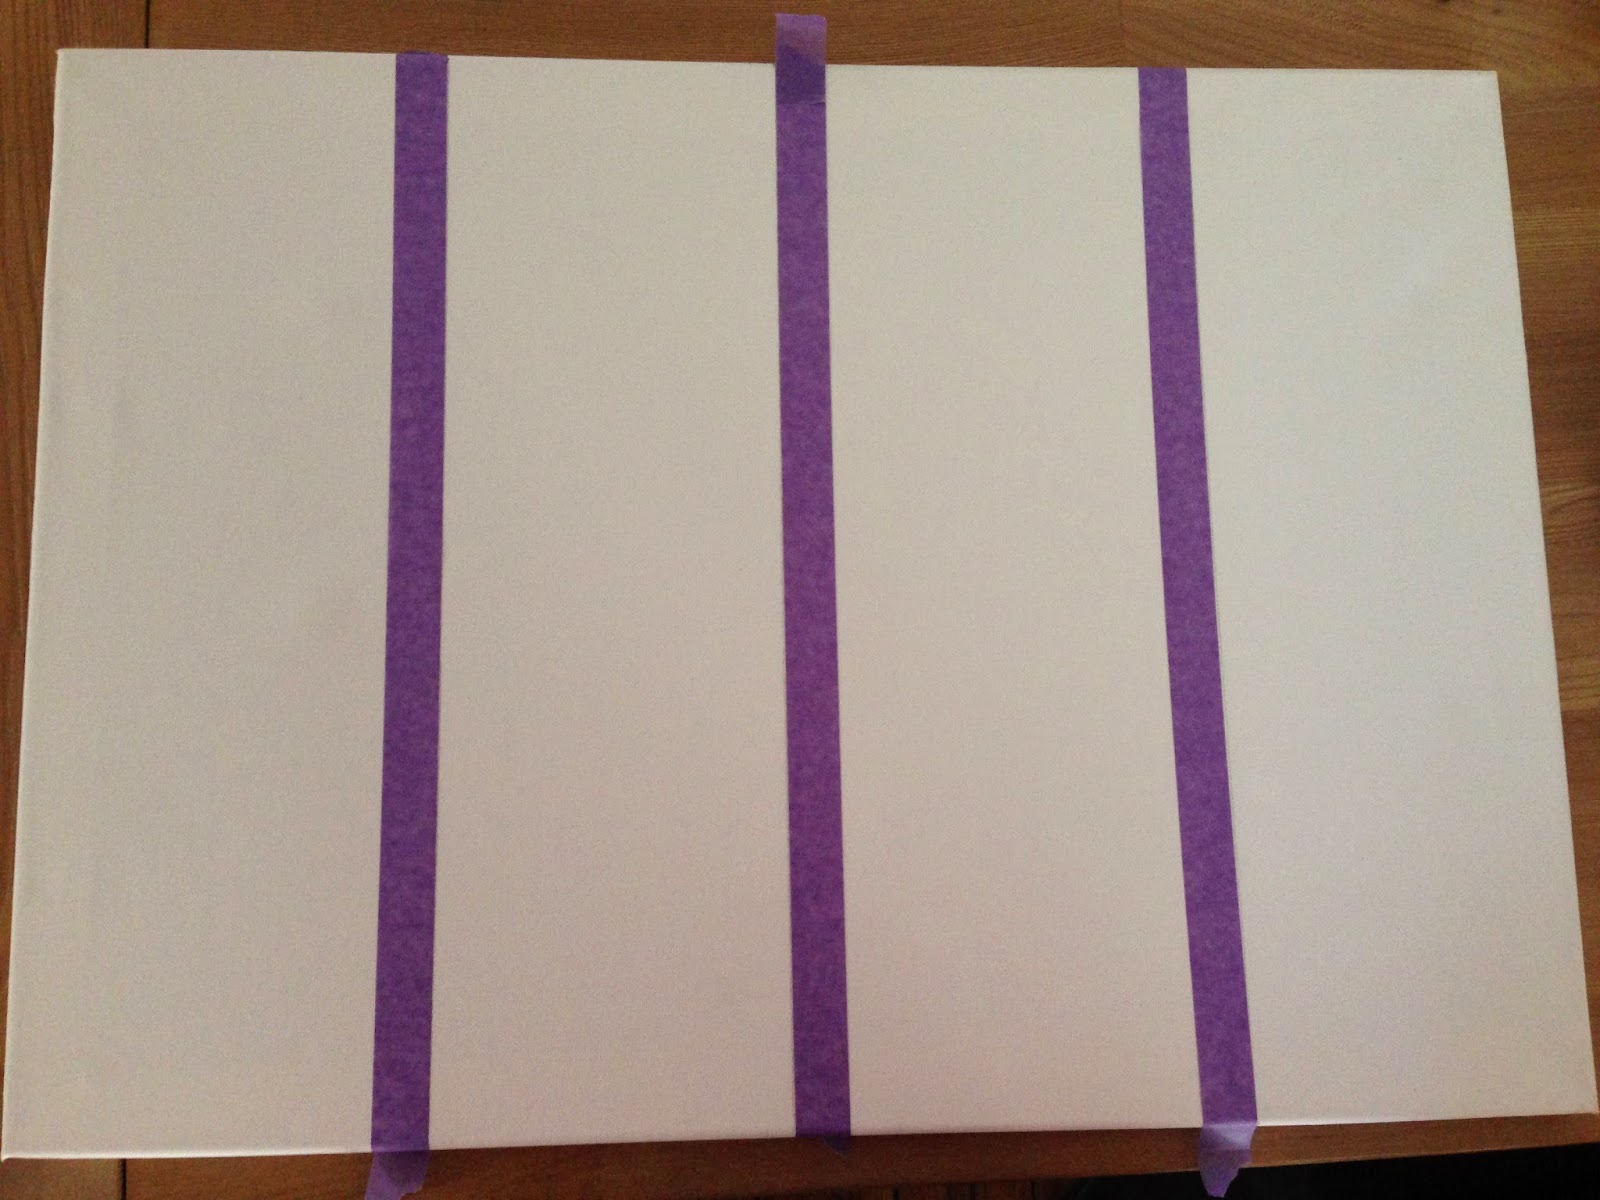 |
| I then stuck down two more lines using the same method to get the lines centred. |
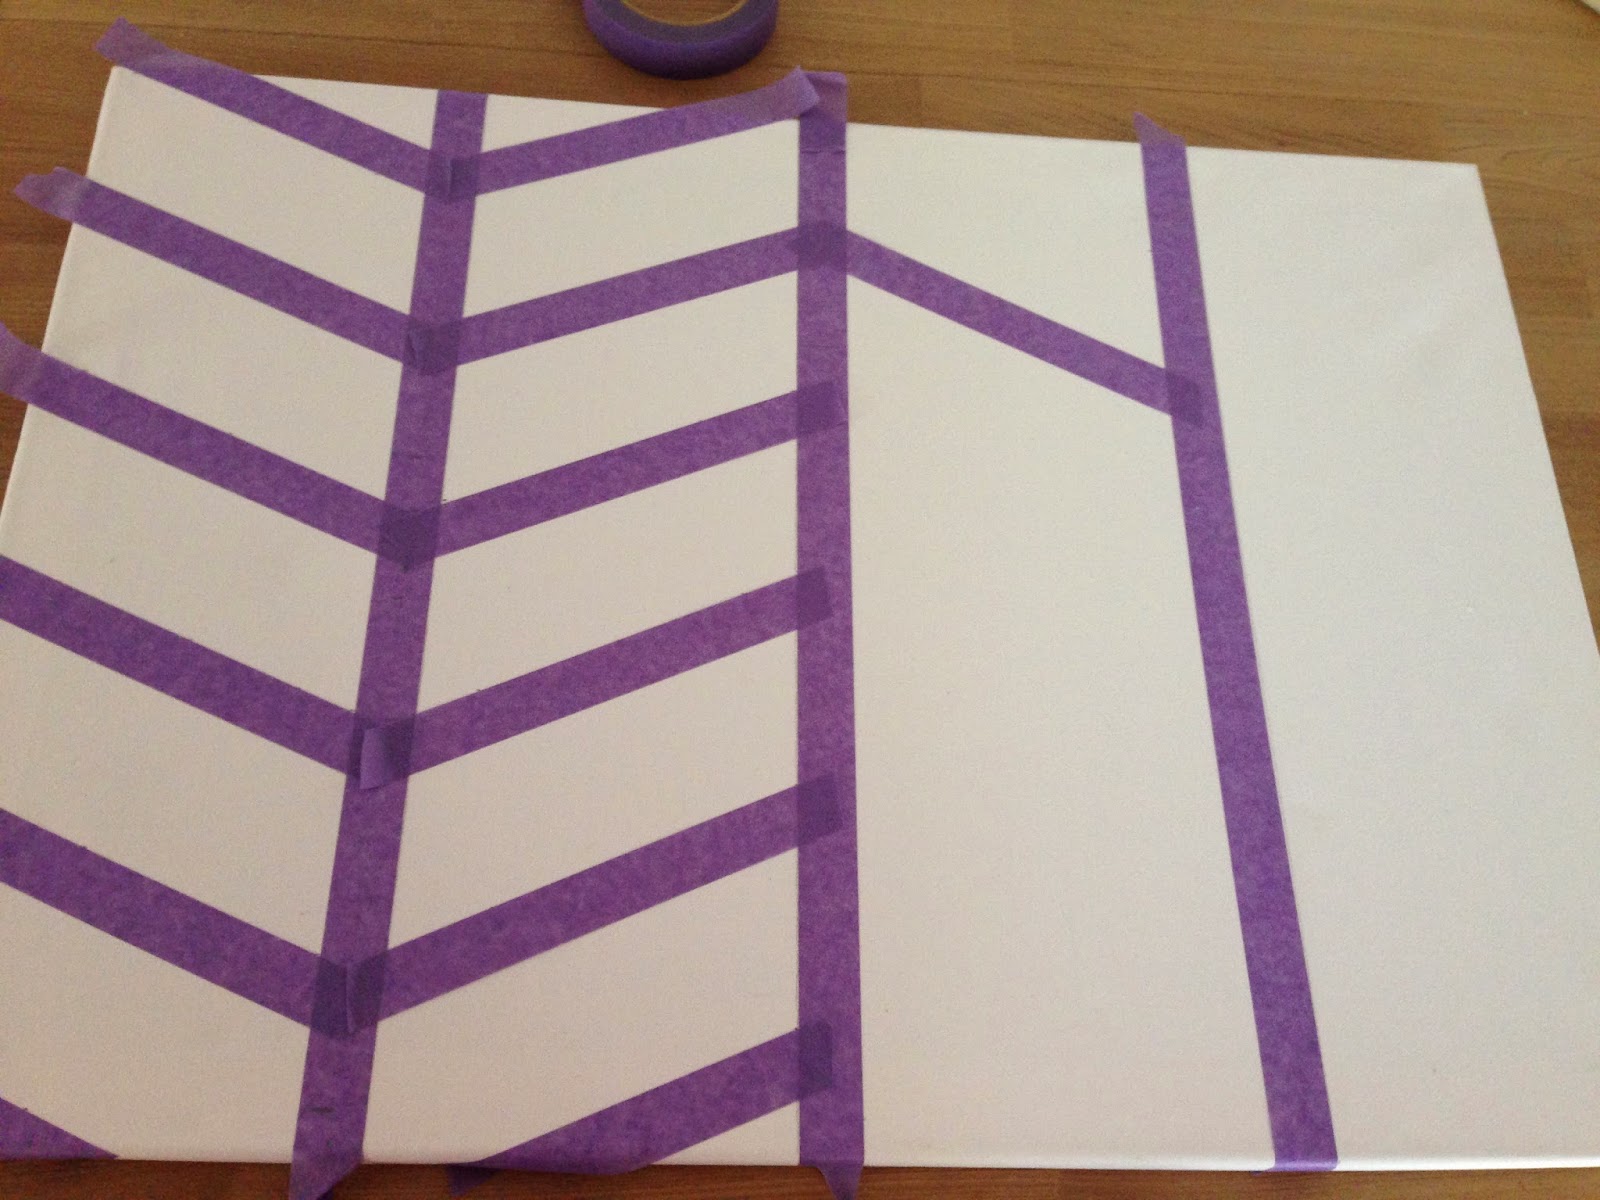 |
| Now for the Chevron tape. I chose to do 7cm gaps the whole way down, it was tricky getting it started but once I got into the groove it wasn't hard, just a little time consuming. With my ruler I marked 7 centermeter all along the bottom of the tape and then lines up the next piece of tape with these marking. |
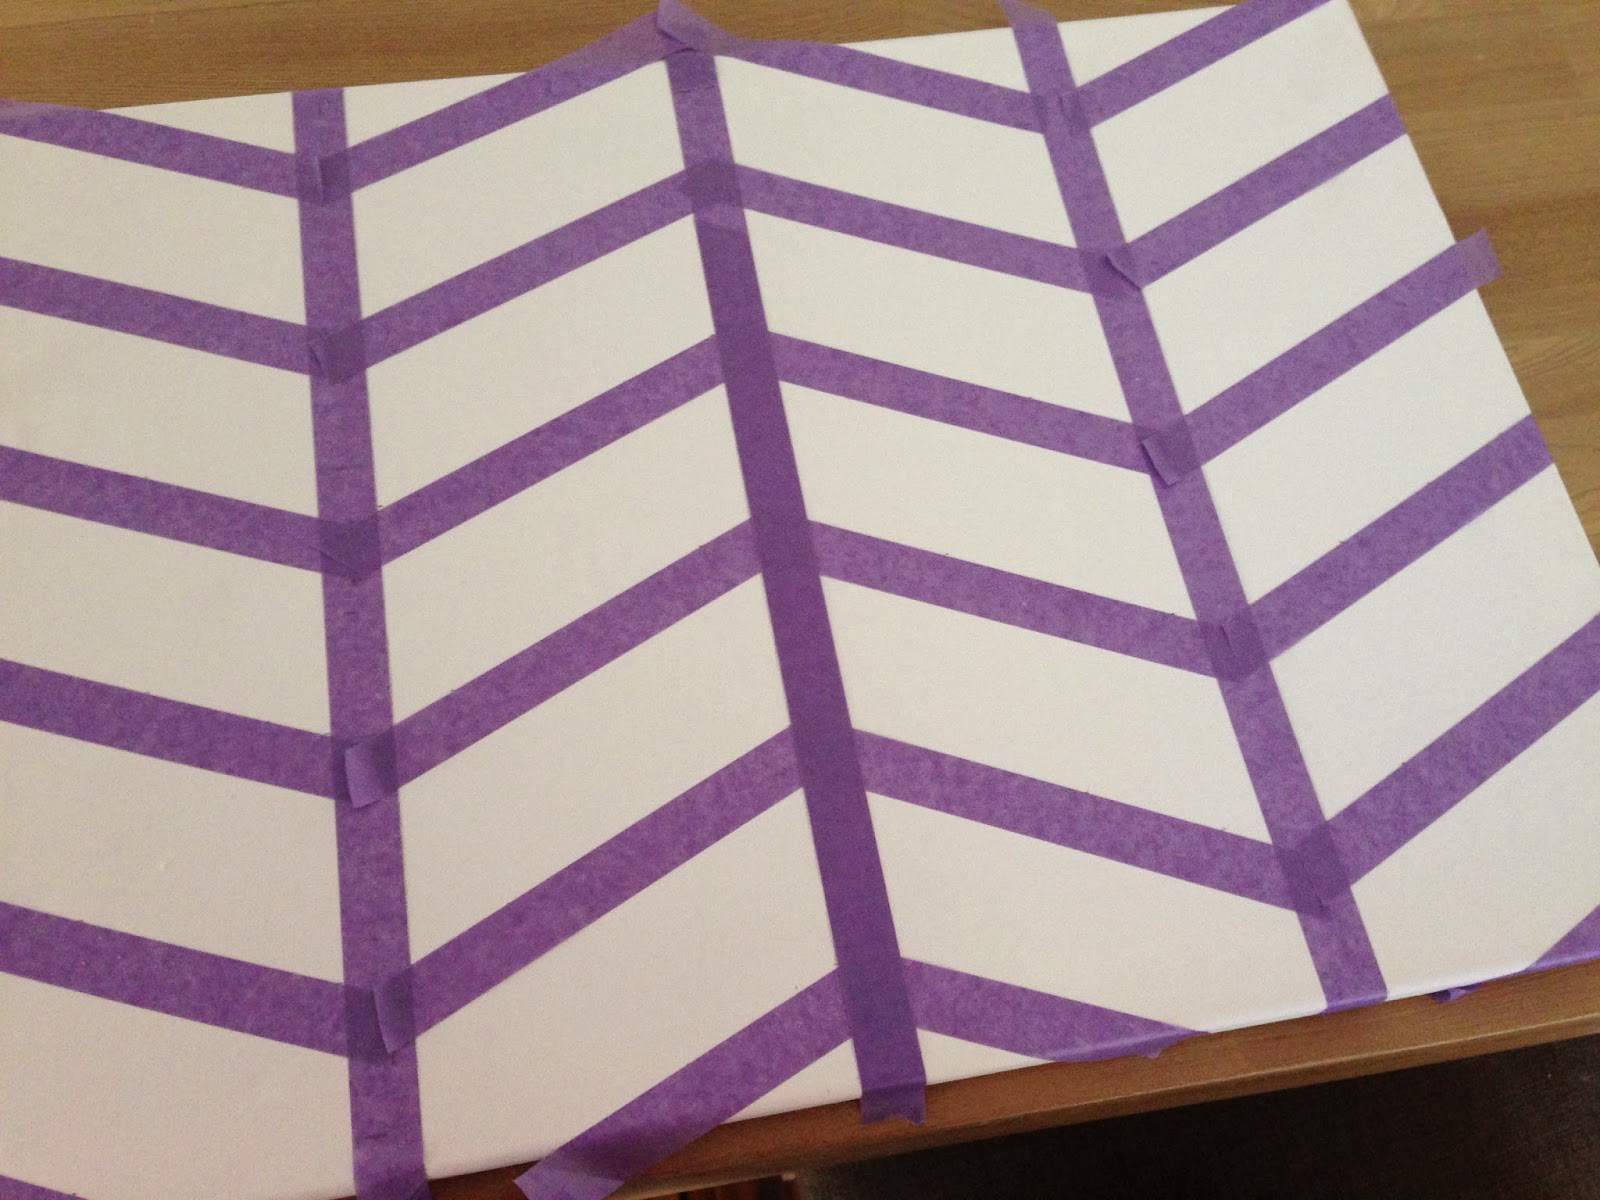 |
| All taped up and ready to start painting. |
 |
| First I took the canvas outside and gave it a rough spray with the silver spray paint. |
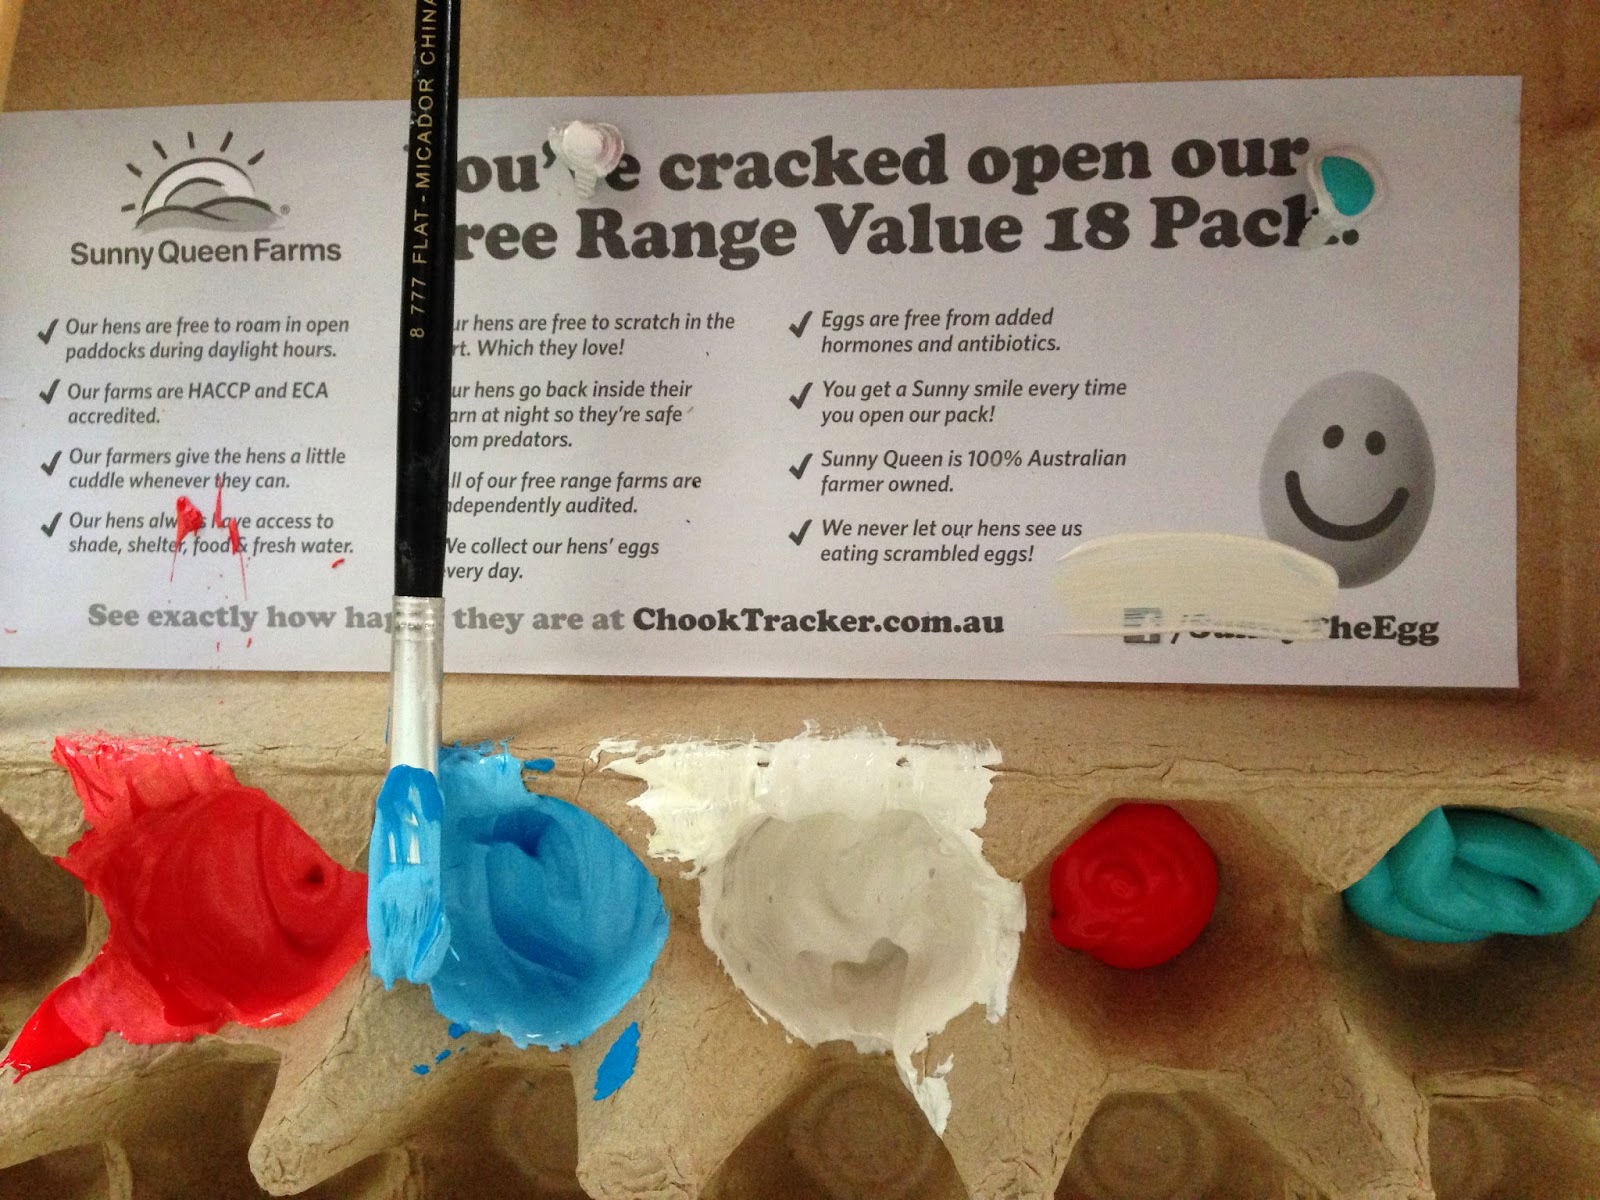 |
While the canvas was drying I made up the colours I wanted to use in a old egg carton.
I like to keep my egg cartons for a a few reasons, one to steal eggs from my mums chook house and the other is for crafts, they always come in handy! |
 |
| I started off adding strokes of light blue and cream as they were just the background colours |
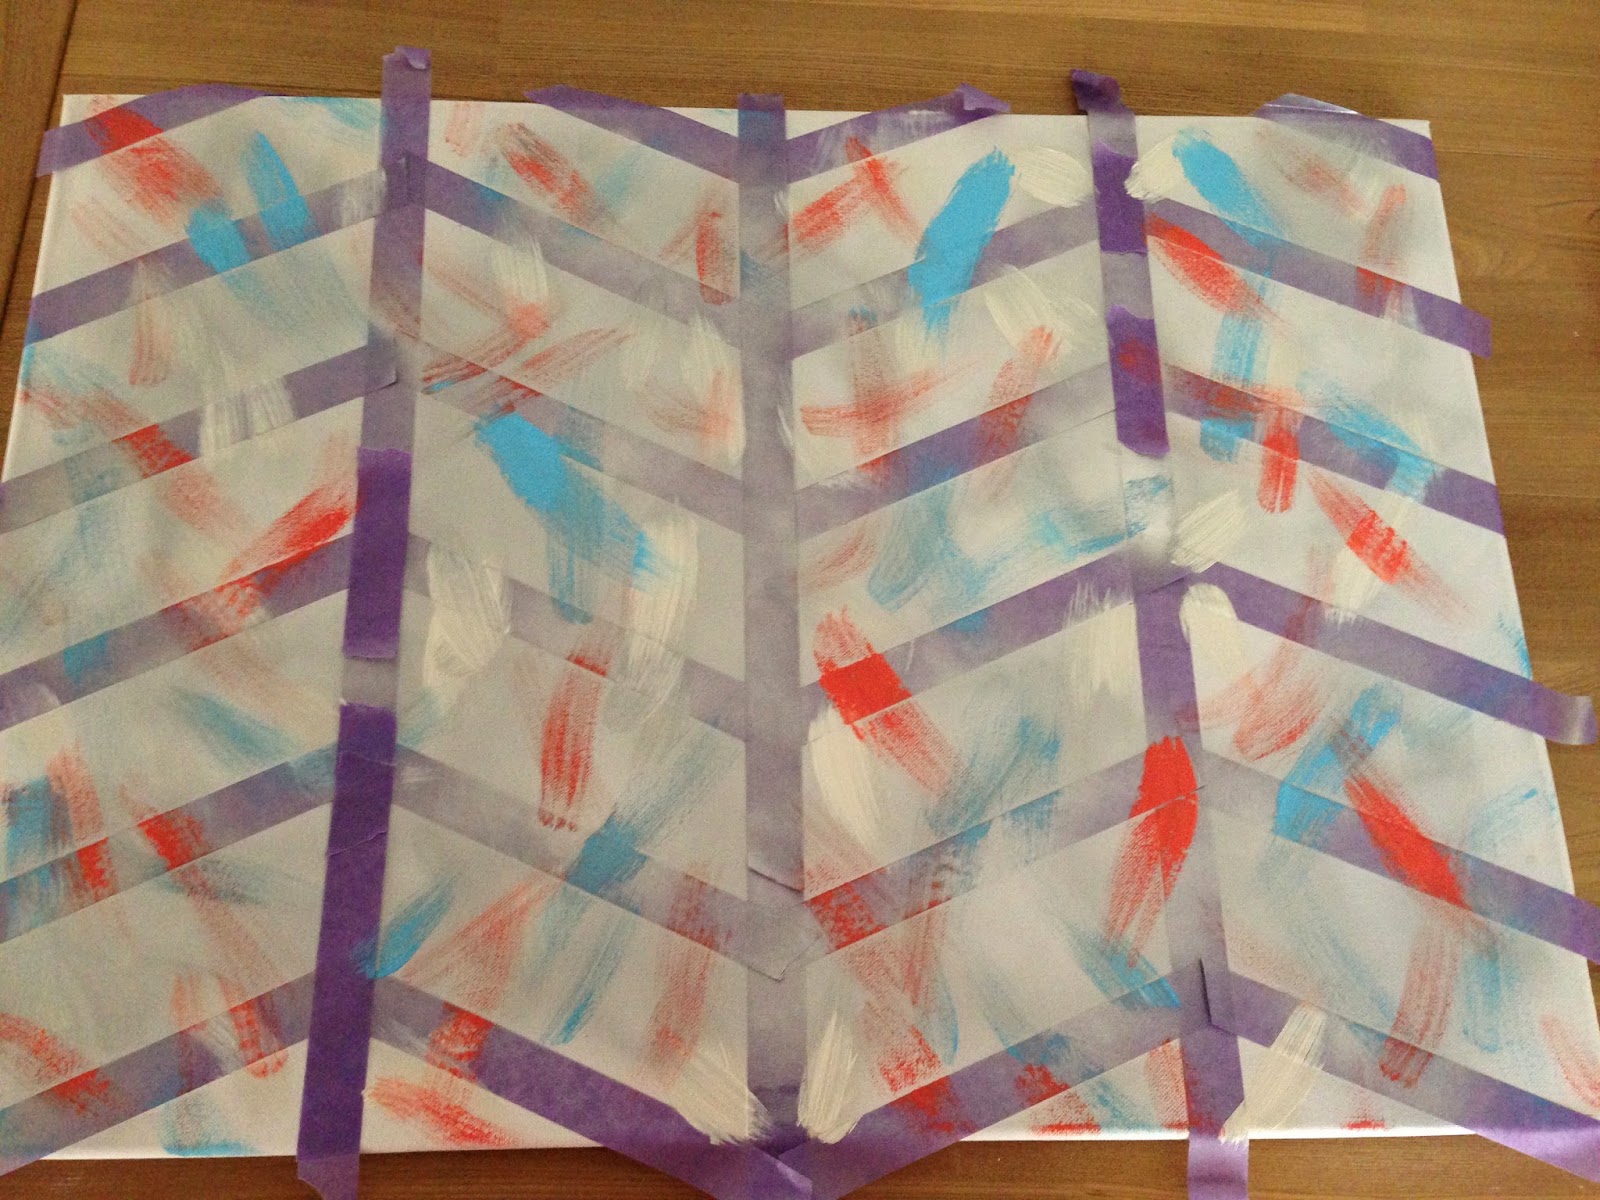 |
| Then I layer the next colour on a light peachy orange, after this I took it back out and gave it a light spray with silver again, to I've the background colours a shimmer. |
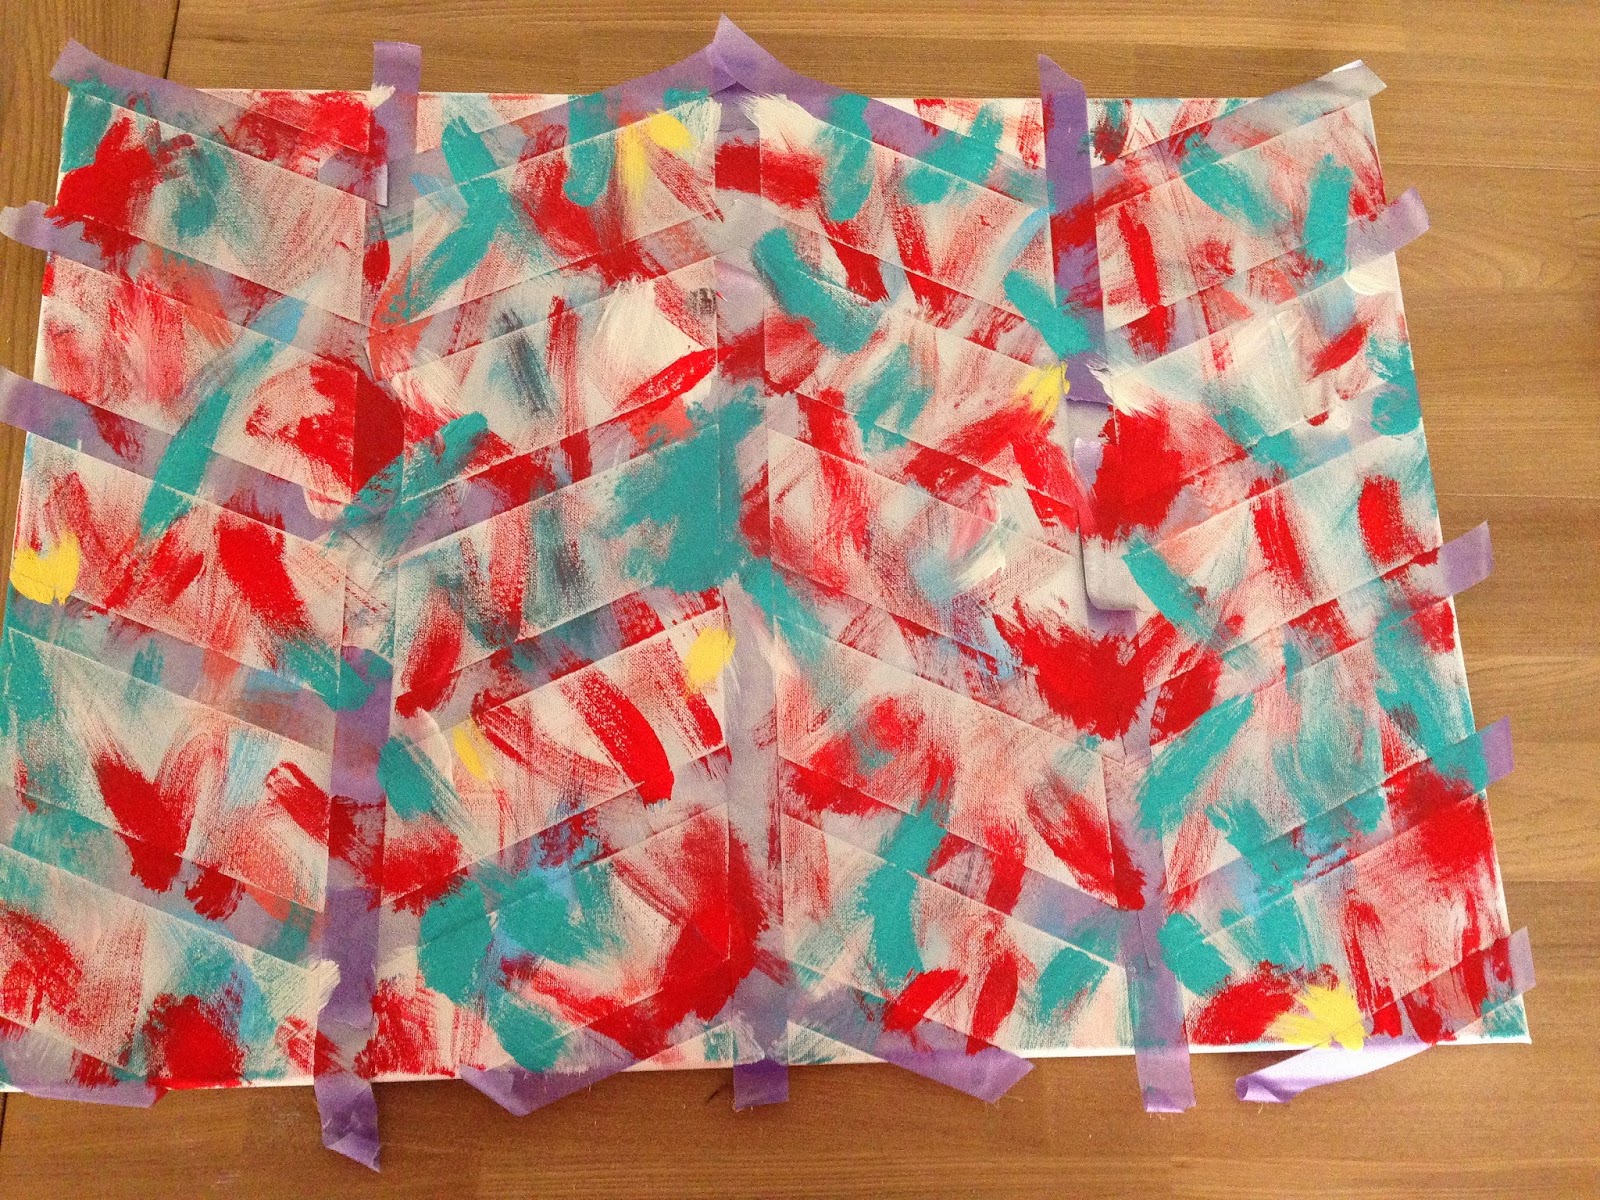 |
| Now the serious stuff, The two main colours the Red and the Turquoise, I just kept layering then until i was happy with how it looked, it was at this point that I decided it need a little pop of yellow for contrast. |
 |
| I let it dry for about and hour before I started to carefully pull the tape off. |
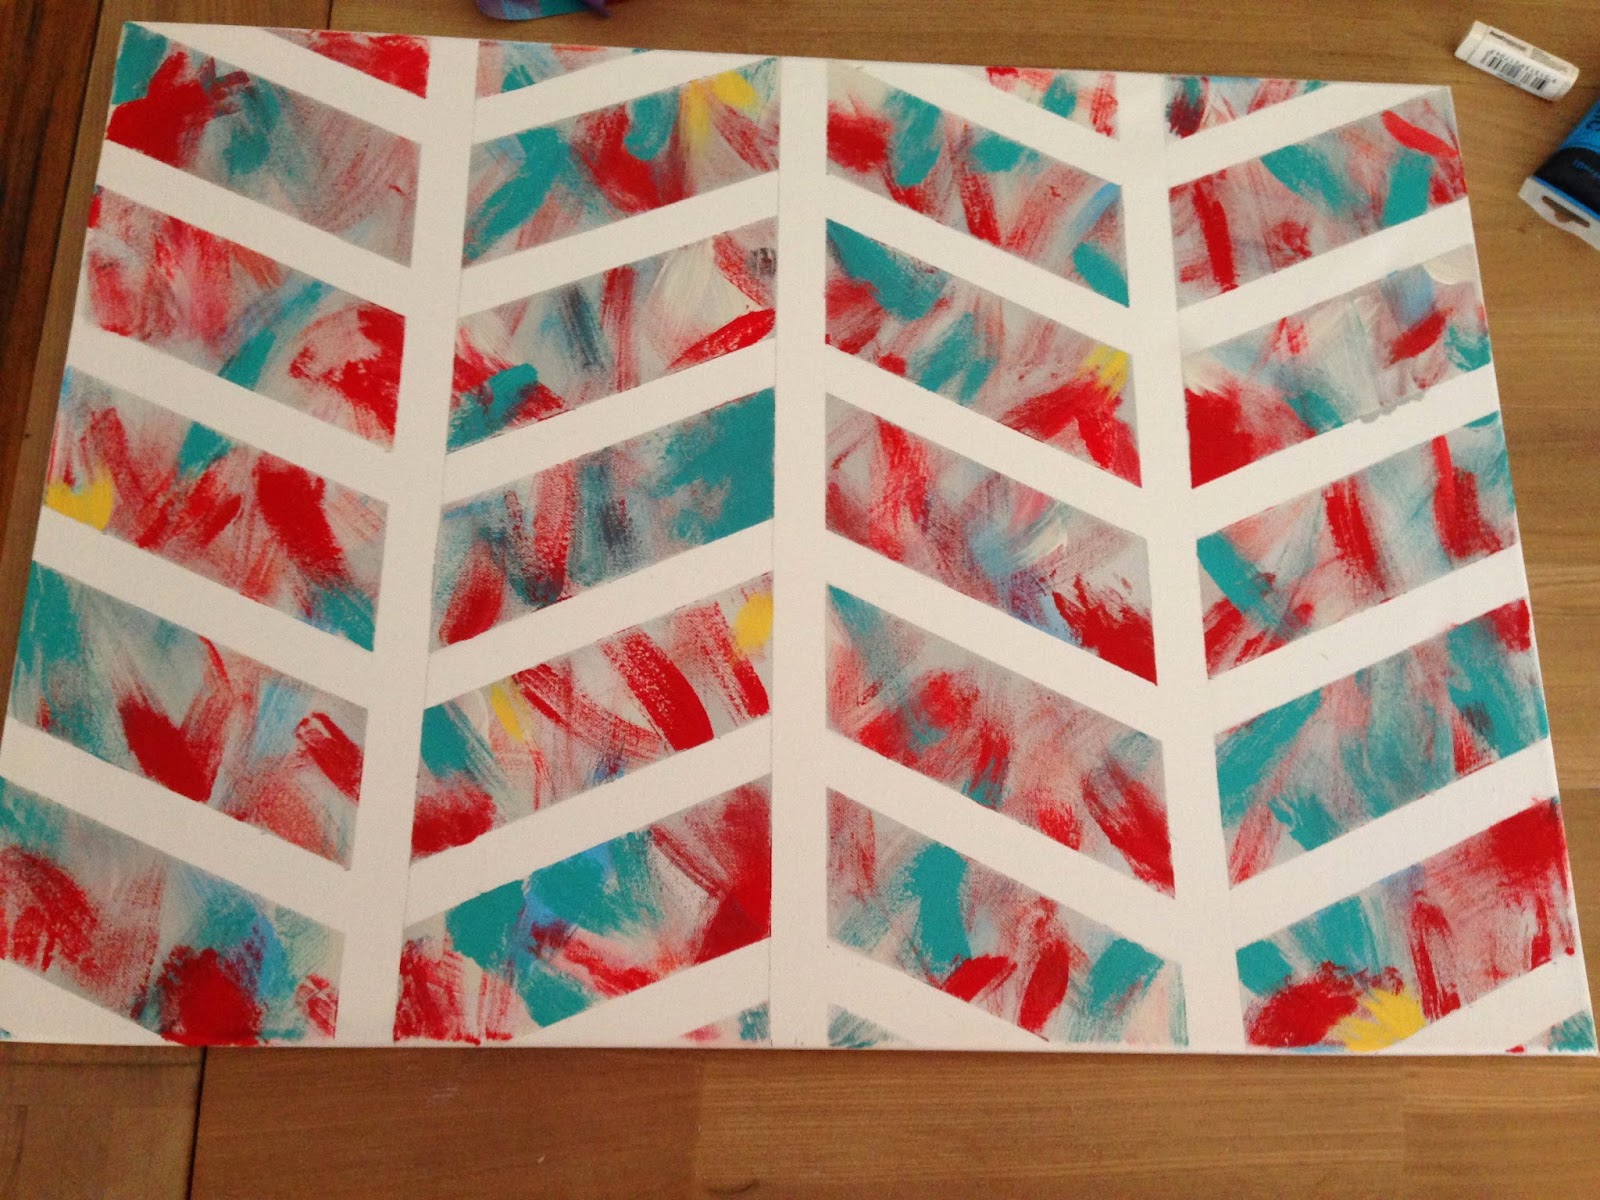 |
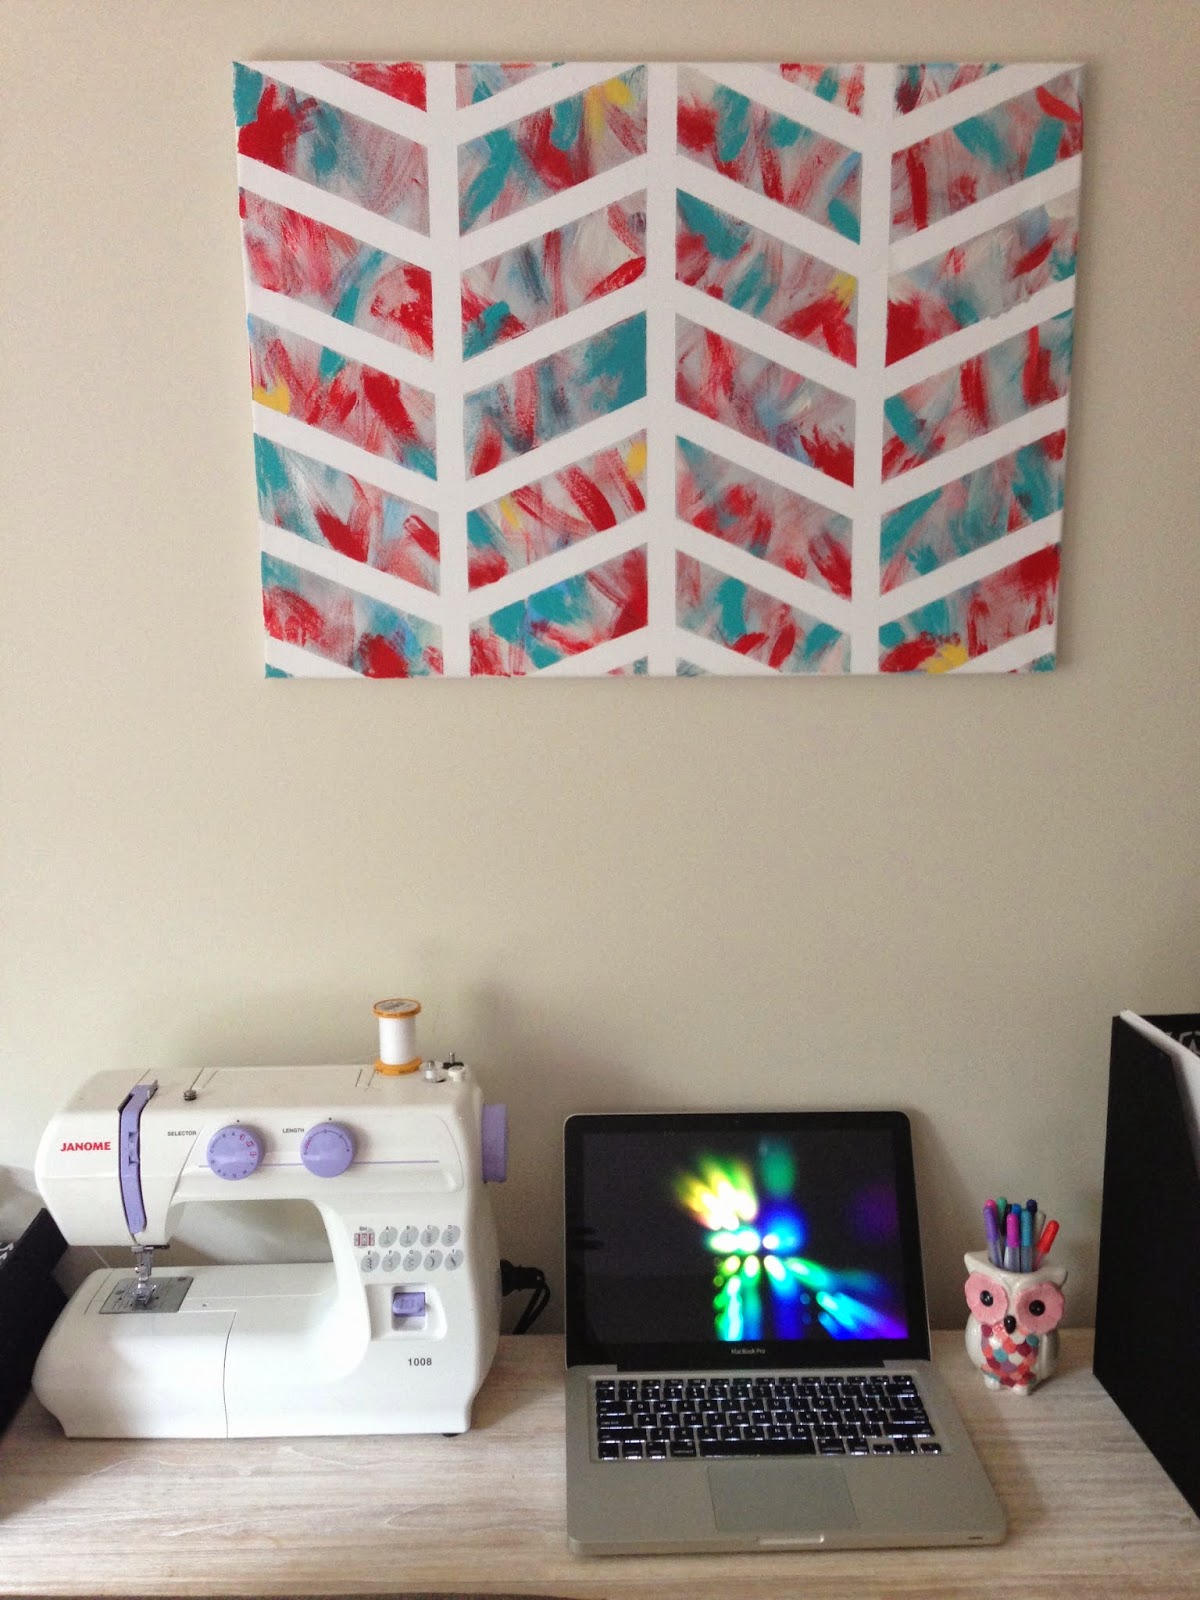
| Wellah!! a very nice piece of art for my study nook, now just to keep adding more colour around the house! |


I love that the cheapo shop is called Mr Dollar! And also, this looks awesome.
ReplyDelete